It’s easy, make some bread.
Making Bread is alchemy.
Cooking is too, but that is a story for another day.
Don’t let anyone tell you otherwise.
Think about it.
Chemical reactions.
How else could you take 3-4 basic ingredients and turn it into something delicious. It’s Alchemy.
Bread is the great equalizer, whether you are young, rich, poor, old, new, green or black. Don’t be tricked into thinking that because you have baked bread often means you will not mess it up. You can, and you do, which is why bread is a great humbler.
The great thing with Bread, though, is that you never feel useless for making rubbish bread. Unlike other things, when you stuff it up, you chalk it up to learning – laugh, shake your head and try again.
Get those hands in the flour.
Go on; I want you to try it and then tell me what you think
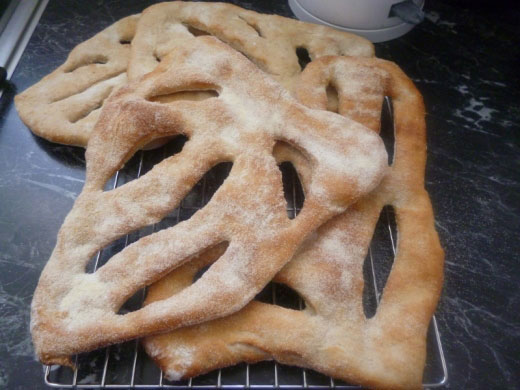
Fougasse.
This is ideal for 3 reasons.
1) You will look at it and go NO NONO, but I’m telling you, you can.
2) It’s deceptively easy, and you will make it and go shit, that Michelle, she was right.
3) It looks complicated, you will feel better making it, plus everyone who are not bread freaks (like us!) will think it’s hard, and you will look even better in their envious bread eyes!
Are you ready?
I have used this recipe with many sceptics from my classes, so have faith!
- 1st and most important of all recipes.
- Read the bloody thing from start to finish.
- Don’t be like me who goes at it like a bull at a gate and gets halfway through and thinks Hmmmm.
This recipe is courtesy of the ever-fabulous Richard Bertinet.
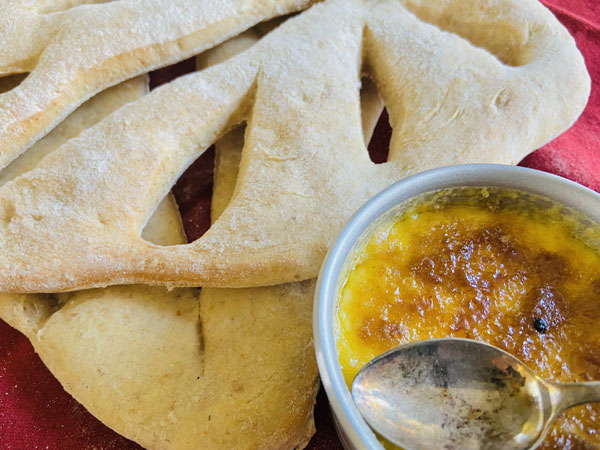
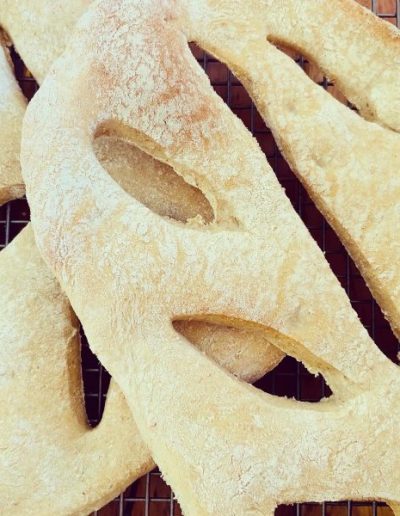
Looking at this bread does remind me of the mask in Scream.
Anyhow enough blathering.
What will you need?
Bravery my bread virgins.
Are you allowed to say things like that?
15g dried yeast
500g Strong Bakers flour
10g Salt
350mls water
- Warm the water in a cup / small bowl that fits 500mls (2 cups) as this will froth.
- Mix well; I like to chuck in a tsp of sugar to help the yeast feed.
- Give it 10-15mins to increase and froth.
- While the yeast is working its magic, combine flour and salt.
- Give it a mix, add in the yeasty water and form a soft dough.
Now I know most of you possibly have a mixer; I really want you to give it a go by hand, once at least.
- Knead for about 10 minutes until smooth and elastic.
- Do the windowpane test. Very simply, this is a test to see if you need to knead it more.
- Place your dough once ready in a lightly oiled bowl and cover with a damp cloth, standing for an hour.
- Once again, allow room for the dough to rise.
- Preheat the oven to 250 degrees Celsius about 15-30 minutes before the dough is ready.
- Line the baking tray with paper.
- Sprinkle semolina on the baking tray paper.
You can use a stone, BUT if you have no idea what I am talking about,
DO NOT FREAK OUT!
So let’s keep it simple today.
If you know how to use a baking stone, then use it, and you will also know to preheat it.
So look at your dough? When your hour is up……
- Turn dough out on a floured bench/board.
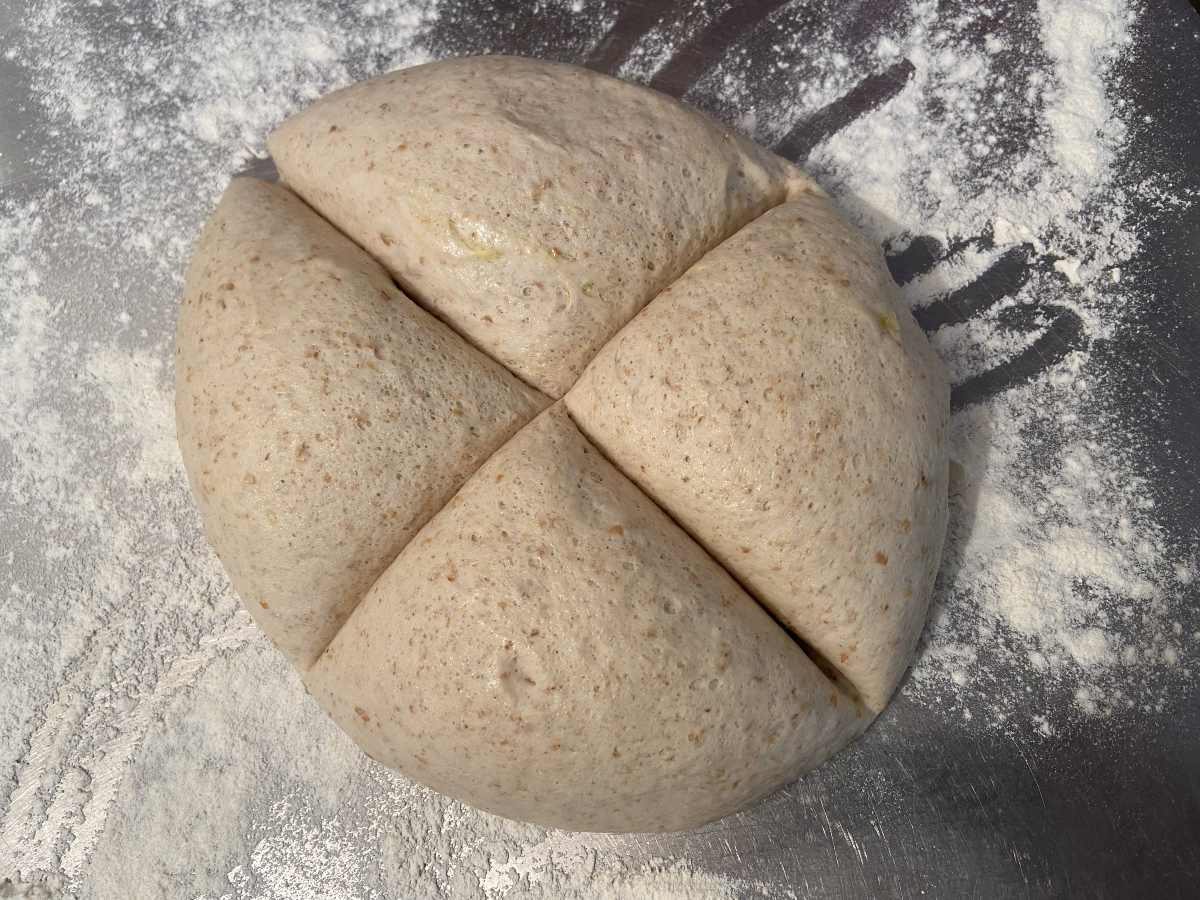
- Cut into 4 pieces.
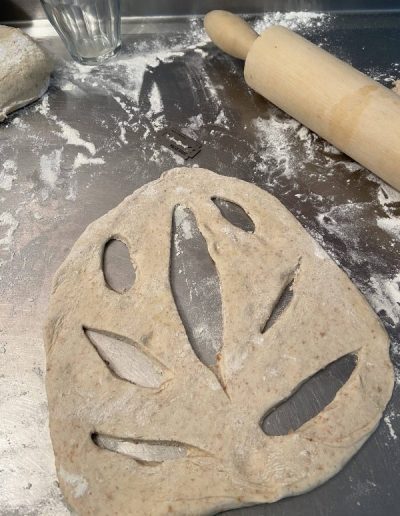
- Be very gentle and roll out or use fingertips to spread out the dough. There is no right or wrong shape, really.
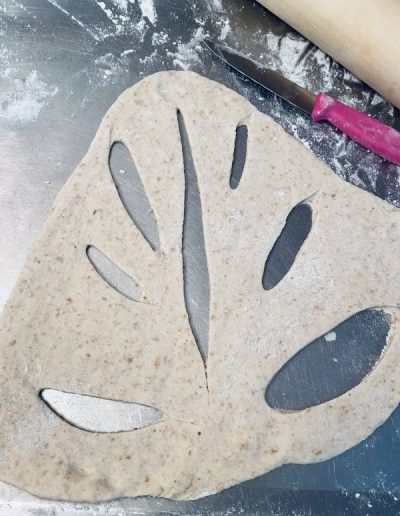
- Then slice 4-5 cuts in the dough and pull apart.
- Place on the prepared baking tray.
- Place the tray in the oven and shut the door.
Often with Bread, we mist the oven to allow the bread to expand and stretch, but once again, we won’t overcomplicate things and go over. In a more technical blog on another day, I do promise to go over these techniques in full ranty detail.
- Turn the heat down to 230 celsius as soon as the Bread is in the oven
- Bake for about 10-12 minutes or until golden brown.
- Remove from the oven and cool on racks.
- Eat as soon as possible.
Enjoy, Enjoy and Enjoy – See you next time!
Contact Michelle
For cooking classes, private events and a private venue, please contact Michelle to chat about our wonderful location, wrestling on the banks of the beautiful Waikato river, Lake Taupo, New Zealand.

